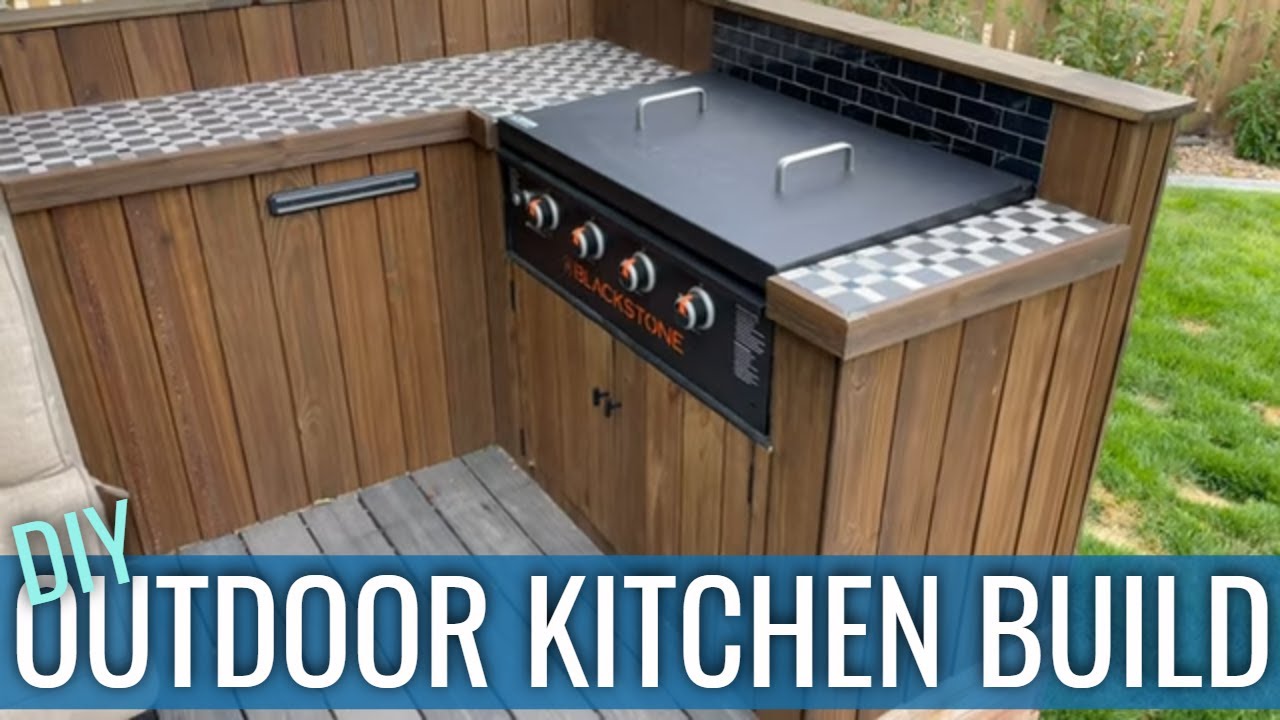
Hey there! Today’s project is all about creating your own DIY outdoor kitchen with a Blackstone griddle. This video by What.We.Did showcases the step-by-step process of framing with treated 2×4’s, using cement board for grill placement, painting with high temp paint, and adding a tiled surface with plywood and cement board. You’ll also see how they utilized vertical shiplap for island wrapping and waterproofed non-treated wood to protect it from the elements. The final product features functional design with a wood exterior, but keep in mind there were some issues with wood warping and sap leakage mentioned in the final review.
As you witness in the video, building your own outdoor kitchen can be a fun and rewarding project. From assembling the griddle to adding finishing touches like trim work and doorknob installation, every step is detailed in the process. While some adjustments might be necessary to ensure better durability, the end result is sure to bring joy and convenience to your outdoor cooking experience. So grab your tools and get ready to embark on this exciting DIY adventure!
Overview
Summary of DIY Outdoor Kitchen Project
Creating a DIY outdoor kitchen with a Blackstone Griddle can be a fun and rewarding project. By following a detailed process, you can build a functional and stylish outdoor cooking area for your home.
Materials
Blackstone griddle
To start this project, you will need a Blackstone griddle for cooking outdoor meals. The griddle provides a versatile cooking surface that can handle a variety of ingredients.
Treated 2×4’s
Using treated 2×4’s will provide stability and support for the outdoor kitchen structure. These treated lumber pieces are important for framing and durability.
Cement board
Cement board is essential for placing the griddle securely in the outdoor kitchen. It provides a sturdy base for the griddle and helps protect the surrounding materials.
Plywood
Plywood is used for tiling the surface of the outdoor kitchen. It provides a smooth and durable surface for cooking and food preparation.
Stone
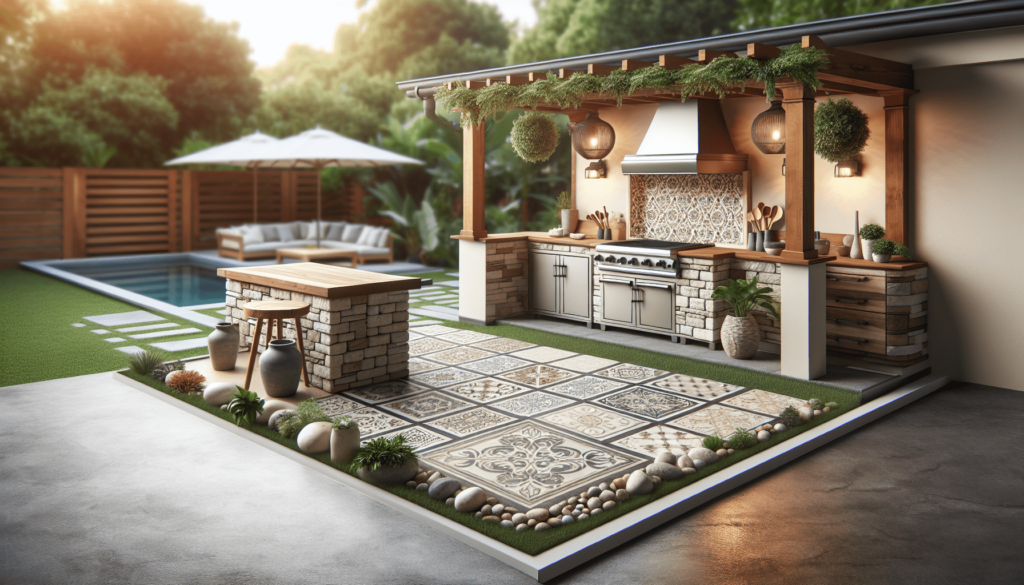
Consider using stone for better durability on the exterior of the outdoor kitchen. Stone adds a natural and elegant touch to the structure.
Preparation
Choosing the location
Selecting the right location for your outdoor kitchen is crucial. Ensure that the space is convenient for cooking and entertaining, and take into account factors like sunlight and wind direction.
Measuring and planning
Before starting the construction process, carefully measure and plan out the dimensions and layout of your outdoor kitchen. This will help you avoid costly errors and ensure a smooth building process.
Construction Process
Framing with treated 2×4’s
Begin the construction process by framing the outdoor kitchen with treated 2×4’s. This step provides the foundation and support for the entire structure.
Installing cement board for grill placement
Securely install cement board where the griddle will be placed. This ensures stability and heat resistance for the cooking area.
Painting with high temp paint
Apply high-temperature paint to protect the outdoor kitchen from heat damage. This step adds a finishing touch and enhances the appearance of the structure.
Tiling the surface with plywood and cement board
Create a tiled surface using plywood and cement board. This provides a clean and functional cooking area while adding a decorative element to the outdoor kitchen.
Adding vertical shiplap for island wrapping
Incorporate vertical shiplap to wrap the island of the outdoor kitchen. This feature adds dimension and style to the structure.
Durability
Using waterproof non-treated wood
To ensure longevity and protection from the elements, consider using waterproof non-treated wood for certain components of the outdoor kitchen.
Considering stone for better durability
Stone is a durable material that can withstand outdoor conditions. Incorporating stone elements into the outdoor kitchen can enhance durability and longevity.
Resource
Video tutorial by What.We.Did
A video tutorial by What.We.Did provides a step-by-step guide for assembling the griddle and constructing the outdoor kitchen. This resource offers detailed instructions and visual guidance for the project.
Step-by-step process for griddle assembly and outdoor kitchen construction
The video tutorial covers the entire process of assembling the griddle and constructing the outdoor kitchen. You can follow along to learn each step and ensure a successful project.
Detailed trim work and finishing touches
The tutorial includes information on trim work and finishing touches for the outdoor kitchen. These details add a polished look to the final product.
Final Product
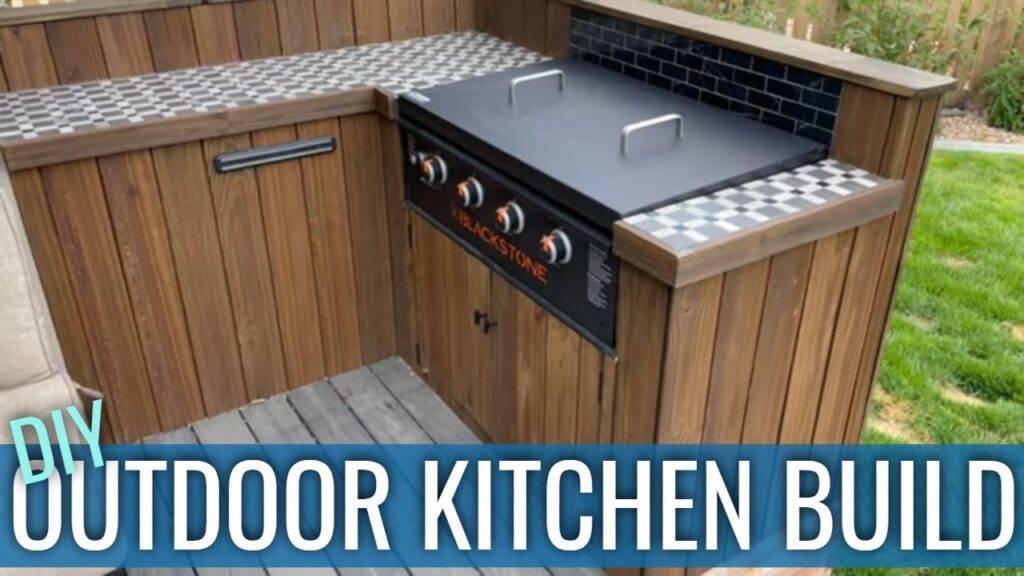
Displaying the finished outdoor kitchen with wood exterior and functional design
Once completed, the outdoor kitchen will showcase a wood exterior and a functional design. The final product will provide a space for outdoor cooking and entertainment.
Issues
Wood warping and sap leakage mentioned in final review
In a final review, issues such as wood warping and sap leakage were mentioned. These challenges highlight the importance of choosing suitable materials for outdoor projects.

Maintenance
Regular cleaning and upkeep to ensure longevity
To maintain the outdoor kitchen’s appearance and functionality, regular cleaning and upkeep are necessary. This includes cleaning the griddle, inspecting for damage, and addressing any maintenance issues promptly.
Conclusion
Summarizing the benefits and challenges of DIY outdoor kitchen projects with tiled surface and stone durability
In conclusion, DIY outdoor kitchen projects offer a rewarding experience with the opportunity to create a customized cooking space. By following a detailed process and choosing durable materials, you can overcome challenges and enjoy the benefits of outdoor cooking. Consider incorporating a tiled surface and stone elements for enhanced durability and longevity in your outdoor kitchen.
