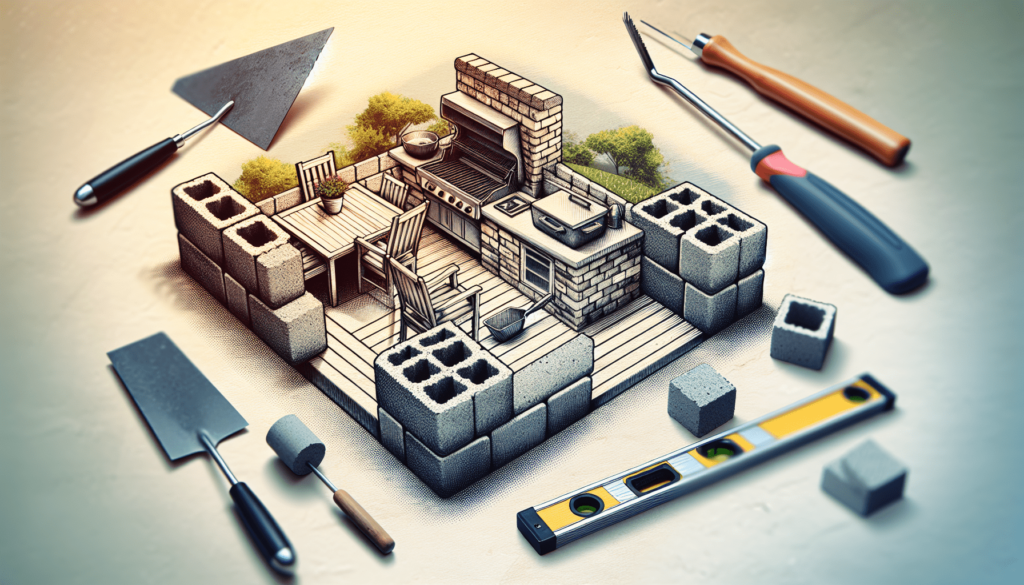
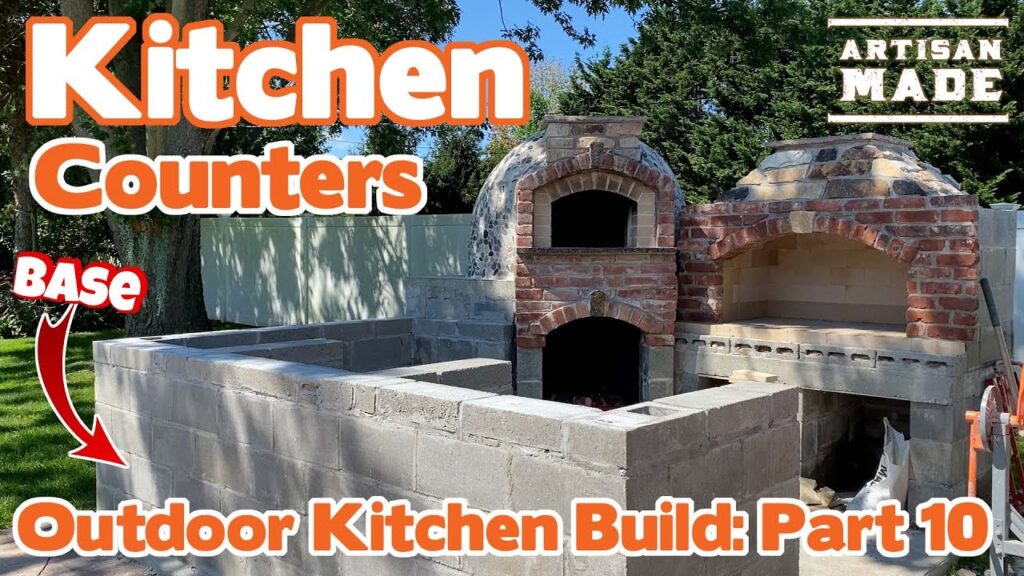
You’re in for a real treat as we embark on part 10 of the outdoor kitchen build series. Today, we’ll be focusing on laying down the cinder block for your kitchen counter and bar area. It’s essential to ensure accuracy from the start, making sure your corners are perfectly square and your rows level for a sturdy foundation. Building the base is a crucial step as it sets the tone for the rest of your outdoor kitchen project.
As we move forward, you’ll learn about adding supports for your granite countertops and the intricate details involved in making sure every aspect of your counter surface is perfectly level. We’ll also discuss building a roof over the kitchen with six-inch posts for support. Stay tuned for more tips and tricks to help you create the outdoor kitchen of your dreams.
Materials Needed
To build the base for your outdoor kitchen counters using cinderblocks, you will require the following materials:
Cinderblocks
Concrete mix
Level
Rubber mallet
Masonry saw
Preparing the Site
Before starting the construction process, it is essential to prepare the site correctly. Follow these steps to ensure a smooth build:
Choose a flat area
Mark out the layout
Excavate the area to create a sturdy foundation for your outdoor kitchen base
Building the Base
Building the base is a crucial step in the process of constructing your outdoor kitchen counters. Follow these steps to ensure a strong and stable foundation:
Lay the first course of cinderblocks according to your layout plan
Use a level to ensure that the cinderblocks are aligned correctly for squareness
Stack additional courses of cinderblocks on top of the first row to create the desired height for your kitchen counters
Cutting Cinderblocks
Cutting cinderblocks to fit your specific design requirements can be done using various techniques. Here are some methods you can use:
Use a masonry saw for precise cuts
Utilize a chisel and hammer for more controlled cutting
Consider renting a wet saw for professional and accurate results
Reinforcing the Base
To ensure the strength and durability of your outdoor kitchen base, consider the following reinforcement techniques:
Insert rebar into the cinderblock cells for added structural integrity
Pour concrete into the cells to reinforce the overall strength of the base
Installing Countertops
Once the base is in place, it’s time to install your countertops. Follow these steps for a seamless installation process:
Measure and cut granite countertops to fit the dimensions of your cinderblock base
Securely attach the countertops to the cinderblock base using appropriate fasteners

Adding a Roof
Adding a roof over your outdoor kitchen can provide shelter and protection from the elements. Follow these steps to construct a sturdy roof:
Choose the right materials for your roof structure
Construct a frame using six-inch posts for adequate support
Install the roof over your outdoor kitchen counter area for a finished look and added functionality
Finishing Touches
To enhance the appearance and longevity of your outdoor kitchen counters, consider adding some finishing touches:
Seal the cinderblocks to protect them from weathering and damage
Incorporate decorative elements such as tile or stone veneer for a personalized touch
Perform a final inspection to ensure that the counters are level and stable

Maintenance Tips
Maintaining your outdoor kitchen counters is essential to prolonging their lifespan and functionality. Consider the following maintenance tips:
Regularly inspect the cinderblocks for any cracks or damage
Clean the countertops and base regularly to prevent dirt and grime buildup
Check for any water leakage issues that may affect the integrity of the structure
Conclusion
By following these comprehensive steps, you can create a sturdy and functional outdoor kitchen base with cinderblock counters. Prioritize safety measures, take your time during the construction process, and enjoy the benefits of your newly built outdoor kitchen. Create a space where you can cook, entertain, and relax in the comfort of your own backyard.
